One of the many classes I teach is CMWEB 270 – Web Application Security. I thought it might be helpful to readers to review a couple of the tools one can use to automatically scan for website vulnerabilities. I consider it good practice to use a number of tools. Obviously, I recommend only using these tools on your own websites. Patch any vulnerabilities you discover. Two introductory tools are Tenable Nessus and Subgraph Vega. Yes, there are many other tools available, I focus on these because they have a significant amount of documentation and are relatively easy to use. Let’s look at each tool in a little more detail.
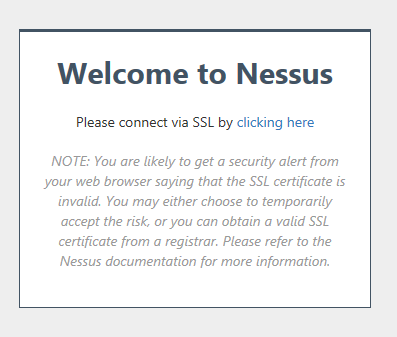
First, Nessus. Be aware there are different versions of this tool. There is a home version (which is what I focus on) and a commercial version. If you are working in an organization, you need to use the commercial version. For the home version, you download the tool from their site. You will also need to register to use the tool. As part of the registration, you will receive a one time activation key. Should you need to reinstall your software, you will need to request another key (I did say it was one time use). You install Nessus on your local machine and then access it via your browser. Since you will be using a self signed SSL certificate, you will receive a warning. The initial screen is shown below.
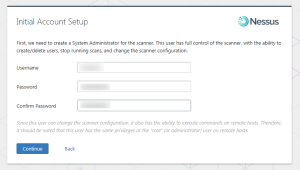
You will be prompted to set up a local account. Note that you will need to create a username and password. I recommend keeping track of this somewhere (a password vault is a great idea).
You next need to register your copy and download the plugins.
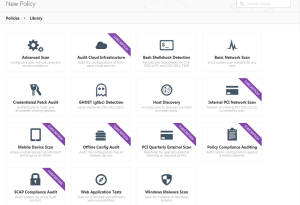
Once you login to your installation (via your browser), you create a folder and select a policy. In my case, I chose the web application security policy. You will note there are a number. This tool is also very helpful in identifying network vulnerabilities. The policies you can choose from are shown below. You may wish to click on the image below to see a larger version.
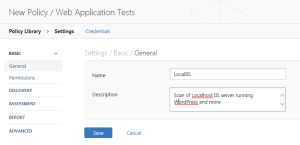
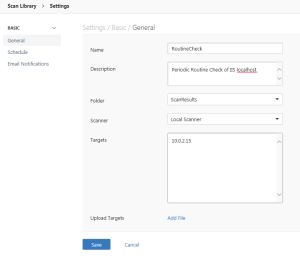
After choosing the Web application security policy, I next needed to configure it. This is done through a series of tabs. First, I provide a name and description.
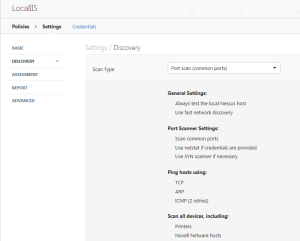
Next, one identifies the type of scan desired.
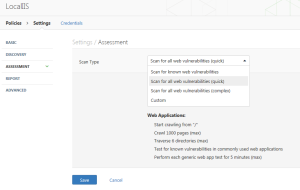
Then, one identifies the level of detail (I chose a quick scan).
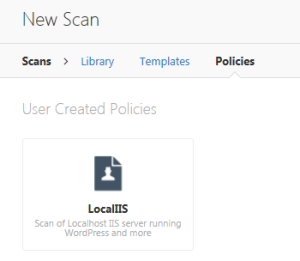
Now that I have a new scan policy, I can schedule a scan.
One creates a scan schedule and configures it. In this case, I am pointing to my local computer.
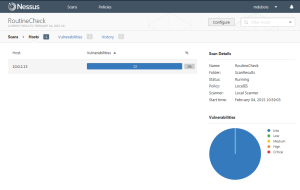
It will take a while for the scan to complete. Once can see progress.
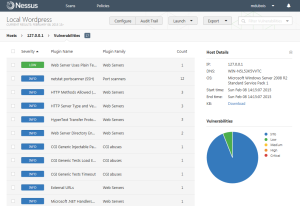
Vulnerabilities will appear in a list (issues of concern will be listed on top).
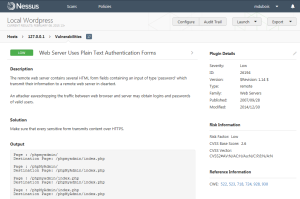
One can click on any of the vulnerabilities for more information. I chose the low priority item above.
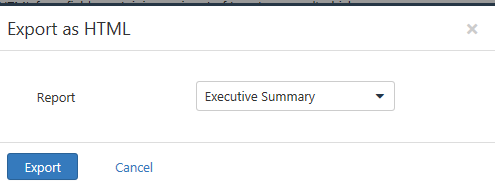
One great feature in using Nessus is that you can also export the results as HTML, CSV, and other formats. Select Export (upper right). I chose HTML. The default is an executive summary, but you can also create a custom report.
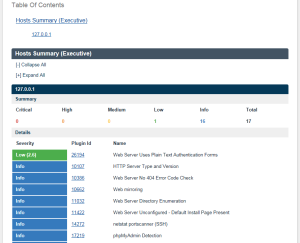
Once the HTML has been generated, you should review (and archive it). In this case, not a lot of exposures were identified.
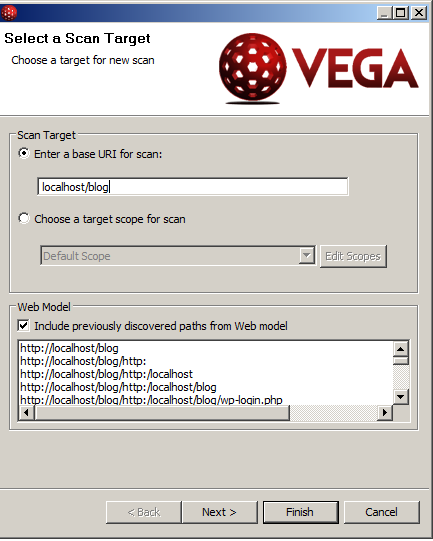
An alternate tool for scanning your website is Subgraph Vega. This tool should also only be used on sites you own and administer. Unlike Nessus, this tool runs as a separate application. Once installed, you select Scan > New Scan from the menu. One needs to identify the target and one can then accept all the defaults (for your initial scan).
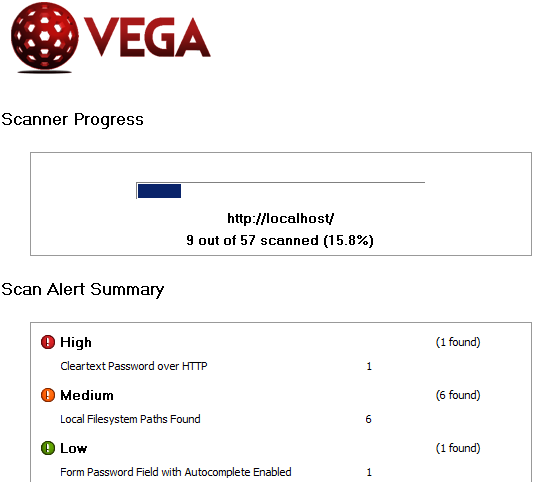
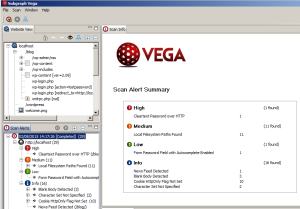
As with Nessus, the scan will take some time to complete. You will then be presented with a list of vulnerabilities. You need to evaluate each to identify whether they need to be fixed or not. For example, the high vulnerability shown below is not really an issue since this machine is running on a closed network (in a virtual environment that I control).
The end result is a bit different from that identified by Nessus (focusing on the same WordPress installation on my localhost). Note that I have expanded the additional information panels so you can better see the potential exposures. You likely need to click on the image to enlarge it.
What I find interesting when using different tools is that they often identify different vulnerabilities (which is why it is a good idea to test your website for vulnerabilities with multiple scanners). Different tools look for different vulnerabilities. This weblog post was just to introduce the tools and show how quickly one can scan their site for potential vulnerabilities. I am curious if readers found this information useful. As always, I look forward to your comments.
