I recently reviewed the Adobe Ink and Slide hardware I obtained in June, 2014. I thought it might be appropriate to cover some of the apps which take advantage of this hardware in greater detail. For starters, I wanted to focus on the free Adobe Sketch app. While I certainly can’t claim to have any graphical abilities, I do continue to practice and doodle.
This app is only available for the iPad. While you do not technically need Ink and Slide to use the app, there are a number of features which work best with the Adobe hardware.
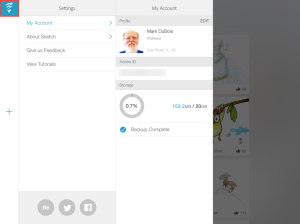
Let’s first examine the interface. When you open the app, you will see a number of examples (pulled from Behance). In the upper left corner is the Sketch logo. Tap on that and you can adjust your settings (you should login with your Adobe Id to take advantage of all the features). My settings are shown below.
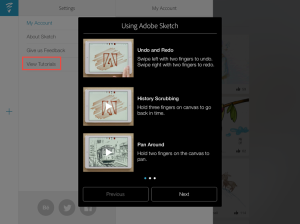
You can also review initial tutorials to get started with this app. Just tap on View Tutorials and you will see something like that shown below.
Tap again on the Sketch logo to return to the interface.
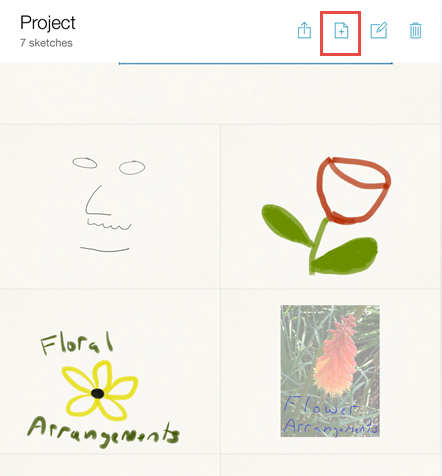
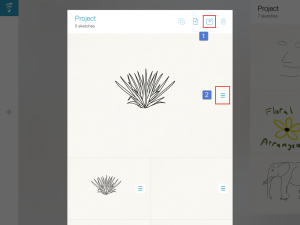
You can tap on the plus symbol on the left to create a new project. By default, there are 5 areas where you can sketch). You can tap on the icon highlighted below to add additional areas to the project. Perhaps you are trying to rapidly prototype a logo for a client and want to show a number of different ideas.
If you decide you don’t want to include something, you can click on the icon (1) highlighted below and remove (or duplicate) (2) any given part of the project.
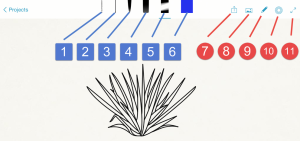
After adding or removing drawing areas, you tap on the project to open it. You are then presented with the main interface. I have highlighted a number of items.
1) This is a pencil tool.
2) This is a pen tool.
3) Brush.
4) Marker.
5) Eraser.
6) Color picker (applies to pencil, pen, brush, and marker) – see below for more information about choices.
7) You can send your art to the Creative Cloud, to Photoshop (or Illustrator) on a computer on the same wifi network, publish on Behance or share locally.
8) You can also import an image to use as a background for tracing (I like this option).
9) Allows you to connect your Adobe Ink
10) Adobe Slide interface
11) Allows you to go full screen (none of the menu is visible).
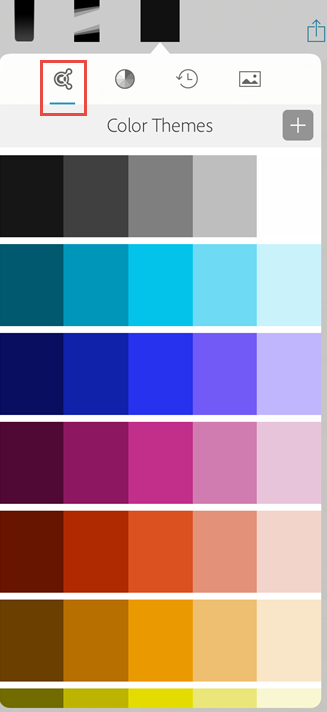
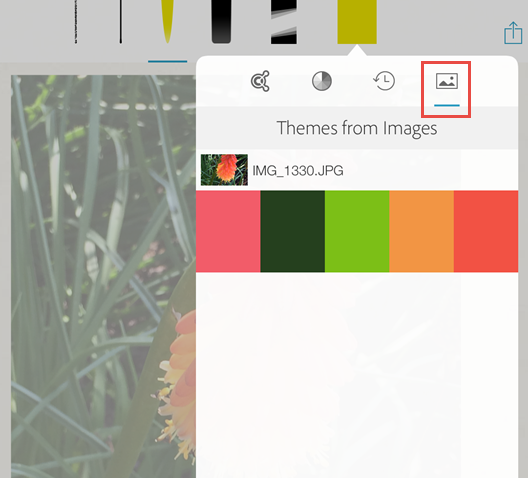
The color picker allows you to choose from a number of sources. For example, since you are using your Creative Cloud id, you can access your Kuler themes.
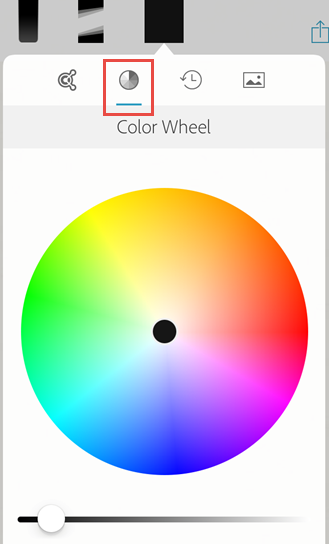
You can also use a color wheel and select any specific color desired.
You can see recent colors used or you can select colors form a background image (below).
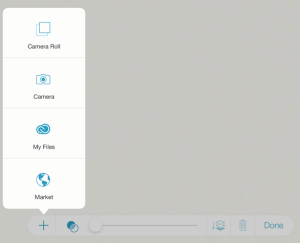
There are a number of sources where you can include background images from (camera or camera roll and files). You also have access to the Adobe Market where a number of images and icons (many are free) are available for use.
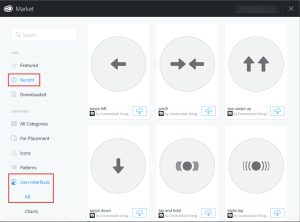
I selected Market and then specified criteria as shown below.
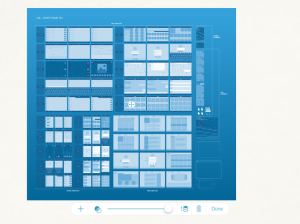
After a bit of searching, I selected a wireframe set to use in the background (one can then trace around them).
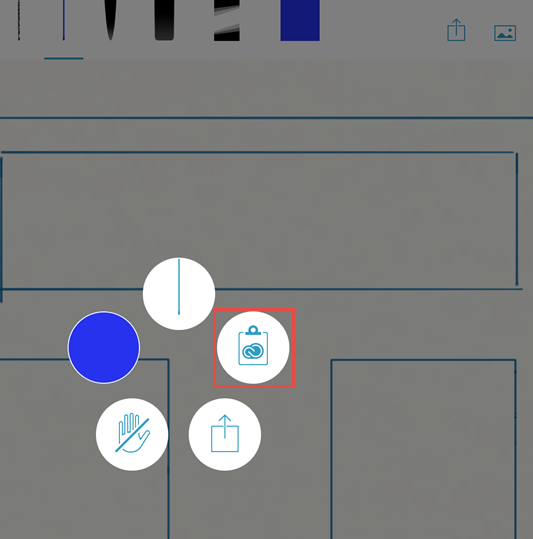
Remember that you can connect your Ink stylus to this app. When you do so, you only need click on the button on the stylus to be presented with a menu (shown below).
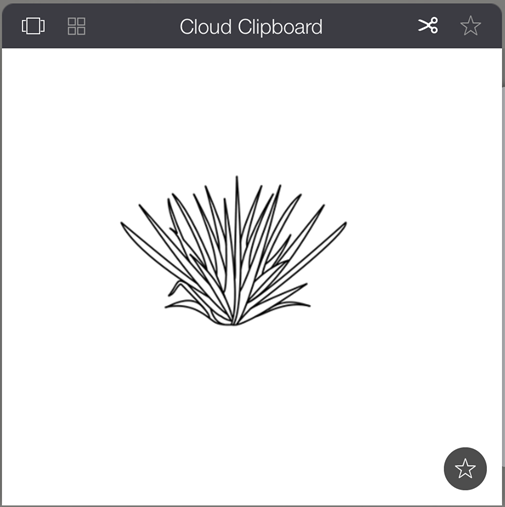
I highlighted the copy from Creative Cloud clipboard. When you are in an app that recognizes Adobe Ink, you can hold the button on the stylus and tap the image. It flashes indicating it has been copied to the Creative Cloud clipboard. You can then select that option (above) and paste your image. I find I am often using some of the stencils available in Adobe Line and pasting them into Sketch. When you choose the clipboard, you are presented with something similar to that shown below.
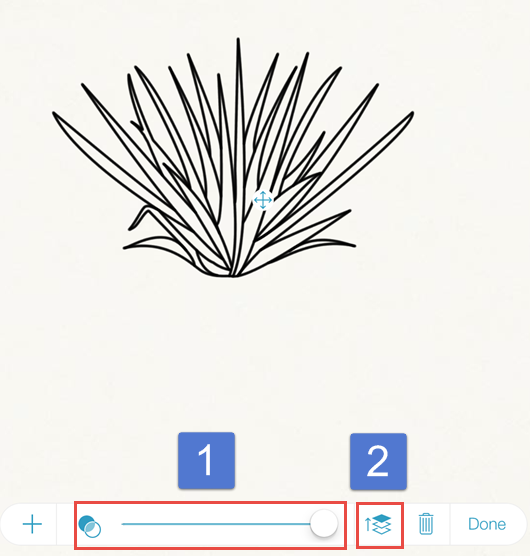
You can view the images in your clipboard one at a time (or in a grid view). Tap on the desired image to paste it into Sketch. You can then control the opacity (1) and which layer (2) it appears on.
I think this tool has a number of uses. At a minimum, one can use this tool to rapidly prototype items for a client (low fidelity usually). Logo design or user interface would be a couple of examples. Combined with the ability to grab stencils from Adobe Line, one could quickly present multiple options to a client during a meeting.
Additionally, there are always the drawing aspects. One could trace a photo or create free form drawings (and even doodle).
I am curious if you have used Adobe Sketch. What are your thoughts about this app? I look forward to your comments.
