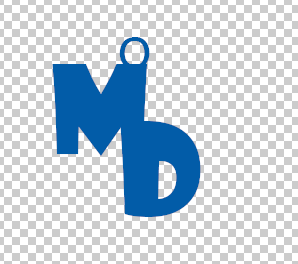
I recently took the time to learn the fundamentals of 3D printing using Photoshop. Yes, I feel like I am using a replicator from the Starship Enterprise. I have actually created some items and shown them at our local Web Professionals and Adobe User Group meeting on March 11. I thought it might be helpful to review the overall process. Keep in mind I am still learning about this so there may well be additional capabilities that I discuss in future weblog posts. I thought it might be appropriate to start with a blank canvas in Photoshop and create something new. Keep in mind I used the most recent version of Photoshop CC for this discussion.Once Photoshop is open, you need to decide on the appropriate dimensions. I chose to set the rulers to inches. Obviously you want a transparent background (unless you also want to transform the background into part of your 3D object. Within Photoshop, I selected File > New from the main menu. I specified a width of 4 inches, a height of 3 inches and a transparent background. I used the text tool and inserted my initials along with a small “o” as a starting point. Yes, I chose strange fonts. Just want to provide you with the overall concept. Obviously, you could also start with Adobe Illustrator and design intricate vector shapes and then import them to Photoshop.
I next need to merge all these layers onto a single layer for further manipulation. From the menu, I chose Layer > Merge Visible (although Flatten would also have worked). This results in a single layer.
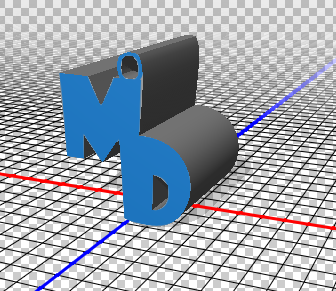
Next, I used the menu to make a 3D extrusion (from the menu) – 3D > New 3D Extrusion from Selected Layer. This results in the image shown below. You can now manipulate this using your cursor to see different views.
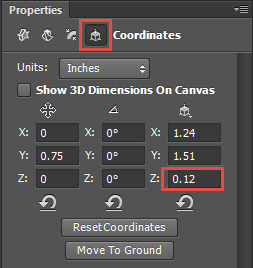
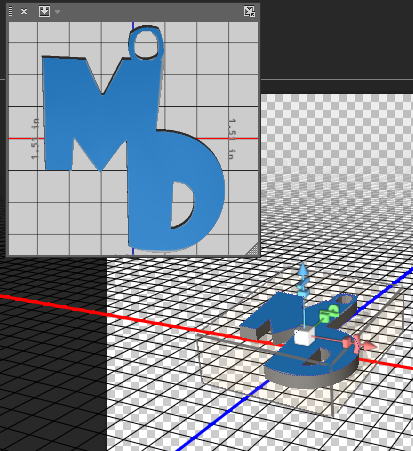
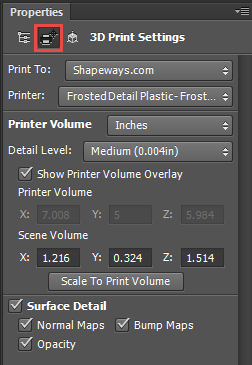
I next chose to set the Z dimension to something thinner. It is important to first click on the object itself. I then used the Properties panel and modified the value to 0.12 inches (1/8 inch).
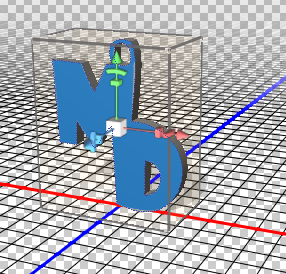
The resulting object now has this appearance.
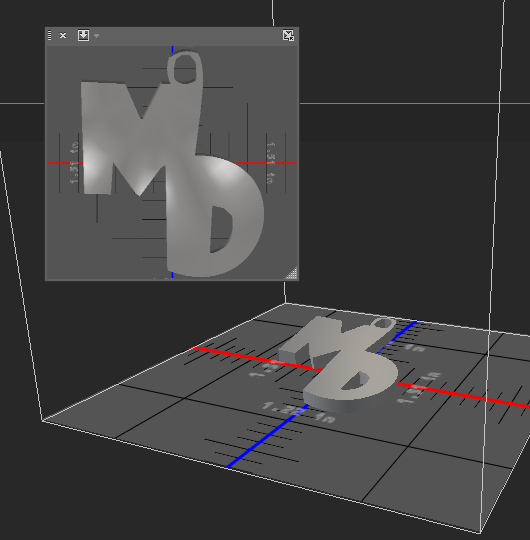
Next, I rotated the object so the majority appeared flat. I then selected 3D > Move Object to Ground Plane from the menu. The results are shown below.
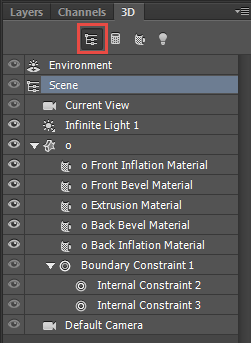
Once I am satisfied with the results, I can then choose properties within the 3D panel. when the object is selected, one can then print it.
The print menu is context sensitive. I chose to print to Shapeways. One does need to create an account (and it does cost to print). However, buying your own 3D printer costs a lot more. [And you have to worry about having a ready supply of appropriate materials.]
These are the material choices presently available. Imagine trying to have all these on hand for your own printer. This is also the reason I don’t own a photo printer but rely on the local pharmacy for my printed photos (I have so few these days).
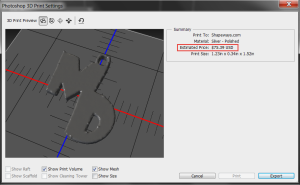
Once you are ready, from the menu, select 3D > Print… and the resulting dialog appears. You may want to click on the image below to enlarge it.
Yes, if I really wanted this printed in silver, it would cost $75. Shipping would be extra. However, printing in plastic is a few dollars for most items. When ready, one clicks export. This will generate a zip archive of a .stl file which contains all the necessary instructions for Shapeways. One can then visit their site and upload the file. I like the fact that they will check your work to make certain it is printable before actually printing it. Yes, I understand humans are involved. The resulting Photoshop object looks like the following.
It takes a couple of weeks to wait for the finished object to arrive in the mail. Yes, you can pay more to expedite it.
For those who have been following along with this tutorial, I provide the starting and ending Photoshop files [as a zip archive]. I encourage you to experiment. As always, I am interested in your comments.
