Last week, I focused on using the IBM BlueMix facility to create a simple Hello World app which pings the IBM BlueMix server instance you created. Those looking for my previous posts on BlueMix can find them linked below (in reverse chronological order):
- BlueMix app development with Kinetise [these links open in a new browser window/ tab.]
- BlueMix Cloud Foundry Node.js app
- BlueMix overview
Assuming you have been following along, you now have a working Android Studio environment on your computer. We are now going to create a more complex application.
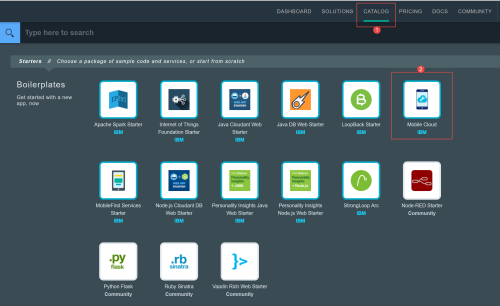
For this example, I am following this IBM BlueMix tutorial. As I mentioned last week, these tutorials are a bit out of date (which is why I provide some hints in this overview). Assuming you followed the above link, you will need to obtain the sample code. If you want to learn more about Java,get the starting sample code. For our purposes, we are going to grab the completed code sample (so we can focus on modifying the working environment). This is the version highlighted in the screen capture below.
In our BlueMix console, we need to create a new running instance of the Mobile Cloud (this is a different service from the one mentioned last week – that one was MobileFirst Services).
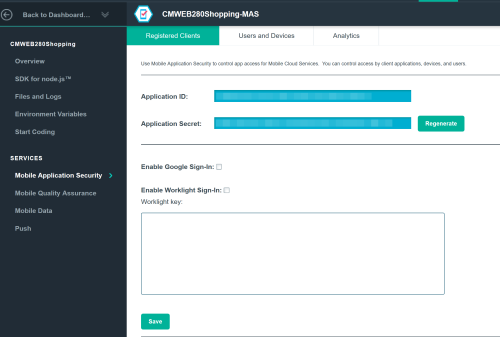
If you are following the IBM tutorial, you will come to step 10 where you need to find your applicationID, applicationRoute, and applicationSecret. The applicationRoute can be found in the mobile options (also mentioned last week). For the other two items, you will need to open the Mobile Application Security module. Copy these three values into the bluelist.properties file. You will find this in the assets folder.
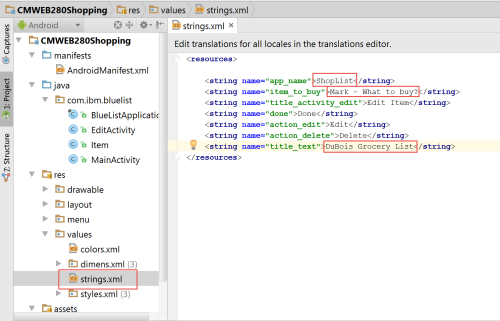
I chose to modify the strings.xml file to include more specific information. Obviously you may want to make other changes as well.
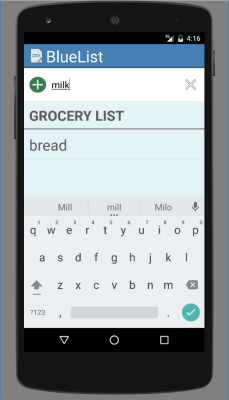
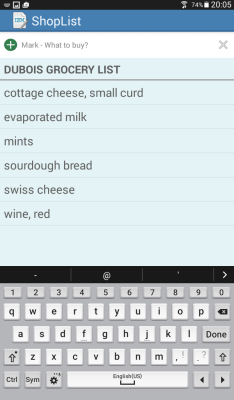
We next need to confirm all is working properly by running the emulator. You have to tap on the keyboard in order to enter values. You can also edit and delete entries by long tapping on them and then taking the desired action.
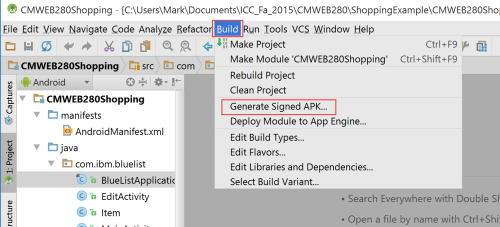
Assuming all the changes you have made are working, you next need to create the .apk file so you can test on an actual Android device. Choose build (instead of run) from the menu in Android Studio. I highlighted the generated singed apk choice assuming you might want to deploy your app further. If you just want to test what you have done on your device, simply build (or rebuild) the app.
You may need to search a bit for the location of the .apk file. Mine is located in the following location (build > outputs > apk). Once you find the file, upload it to Dropbox (or a similar file sharing service you can then access from your mobile device).
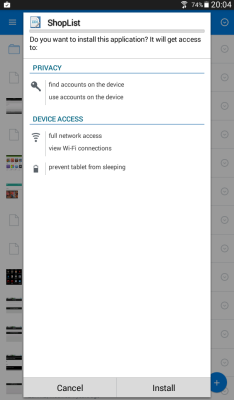
I next opened the appropriate Dropbox folder on my tablet (Samsung Galaxy Tab E) and selected the item to install.
Once installed, you can them continue to test the app on a physical device.
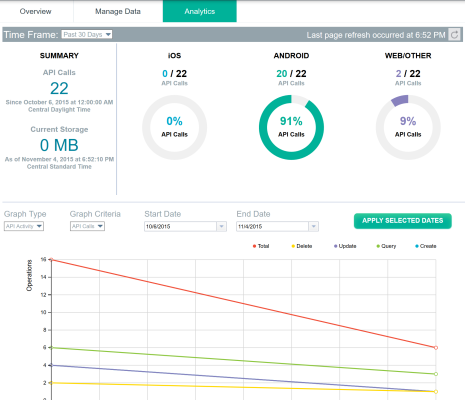
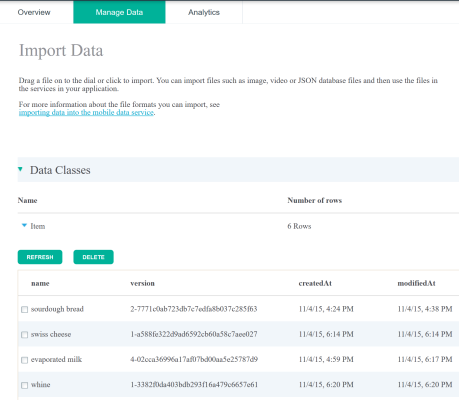
You may recall that this data is actually stored on the BlueMix server instance you started. Therefore, you have access to analytics and usage information as well as the actual data. Since this was deployed using Android Studio, it is unlikely there would be any iOS activity.
Here is the actual data found on the server as well.
There you have it. You can create apps using Android Studio and BlueMix. As you can see, there are a number of capabilities when working with IBM BlueMix. I feel that I have only scratched the surface. As always, I look forward to your comments.

