I have been covering the IBM BlueMix facility in several weblog posts. These are linked below (in reverse chronological order):
- BlueMix app development with Kinetise [these links open in a new browser window/ tab.]
- BlueMix Cloud Foundry Node.js app
- BlueMix overview
For those who have been following these posts, we should now have a solid understanding of the fundamentals of working with this online facility. Students in our CMWEB 280 class are also exposed to using Android Studio. I thought it would be useful to cover the fundamentals of working with BlueMix and Android Studio.
First, you will need to download and install Android Studio [which may also require you to install JDK]. You will also need Gradle. Obviously, you need to know where you install these items (for example Android Studio will ask you for certain locations if they are not in your environment variables path – yes I am using Windows for this discussion).
Next, you will need access to your IBM BlueMix console. This is available for a free trial. Assuming you have access, we are going to walk through the initial tutorial.
Hello World tutorial. Yep, it says in my contract I have to use Hello World at least once a semester *grin*. IBM provides a starting point (with a number of links). Unfortunately, the IBM tutorial is a bit out of date. Either of the links in the last sentence will take you to that tutorial. Follow it along, but there are some minor changes.
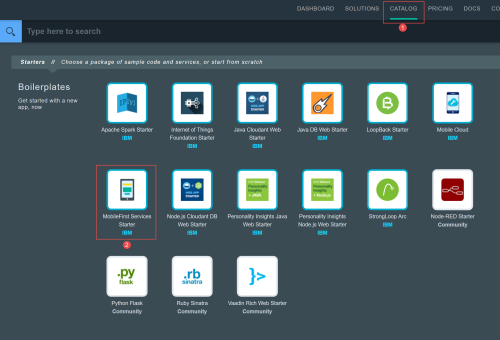
You will need to access the catalog in BlueMix in order to start a new MobileFirst Services instance. Make certain you select MobileFirst Services from the catalog as this contains some pre-defined hooks for the app you will be working with. There are other Mobile Services (such as mobile cloud). Note the screen capture below.
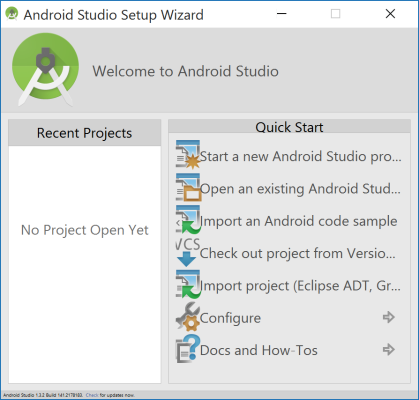
Once you have created this, you need to return to your local Android Studio application and import the project. [It is stored on GitHub]. In the Android Studio screen capture below, this is the 5th option [Import Project (Eclipse ADT,…).
You will also need to have the Application Route and Application ID from your BlueMix instance. Open the instance on your BlueMix console and click on the Mobile Options link to expand that part and revels the necessary codes. You need to copy these and place them in the appropriate function in your local project. This ties your project to your BlueMix instance. Copy the values from your instance and place them into the appropriate spot.
The specific function is shown below (replace the information in bold with the appropriate values):
// initialize SDK with IBM Bluemix application ID and route

BMSClient.getInstance().initialize(this, "<APPLICATION_ROUTE>", "<APPLICATION_ID>");
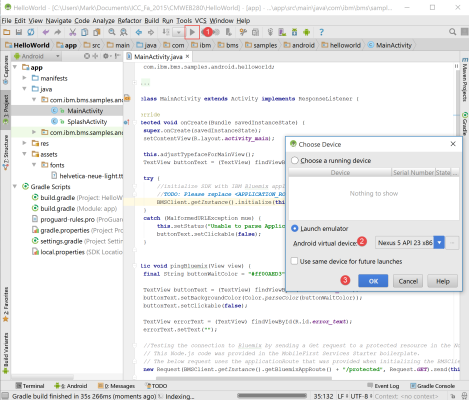
Save your work and run the project (item 1 in the screen capture below). This will launch the Android emulator (choose your device and click ok – items 2 and 3 in the screen capture below).
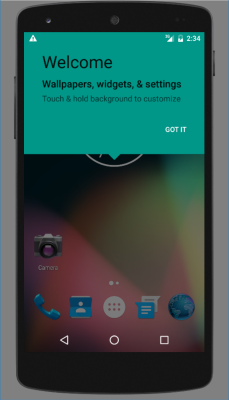
The emulator initially loads and you may need to swipe on the emulator to see the actual project.
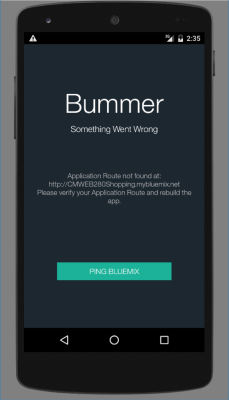
You will then be able to click on the Ping BlueMix button. One of two things will happen. If you did not enter the proper codes, you may receive an error message like the following.
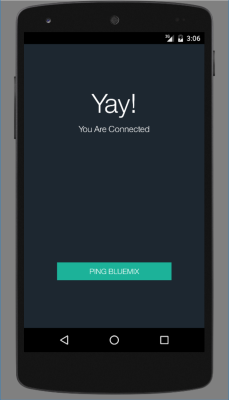
If you entered the proper credentials, you will see something like the following.
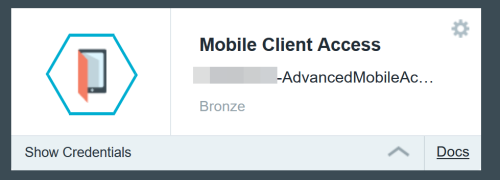
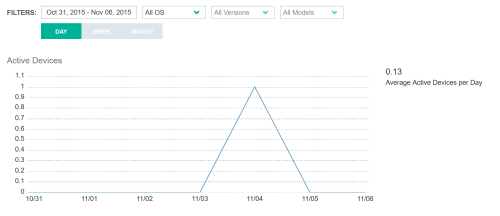
This means you have successfully communicated with the IBM BlueMix server environment. You can also view mobile data analytics in your BlueMix console. Open the Mobile Client Access link to see these analytics.
Obviously, I did not use this service much.
I think this is pretty impressive. With a minimal amount of work (other than installing the appropriate tools), one can configure a simple demonstration app. I hope you found this introduction useful. As always, I look forward to your comments. Next time, we will look at a more complex application.
