Since I have a Motorola Droid 2 for development of Android applications, I thought I would take the device for a test drive. These are my experiences to get the environment working – your mileage may vary.
- I first needed to download the Flash CS5 extension for Air 2.5 (you can get this from Adobe Labs – just follow the link which will open in a new window/ tab, it is a beta at this point in time). This is a .zxp file. You use the Extension Manager for CS5 to add the extension. The install was fairly smooth. Once installed, you will have the ability to create a new Flash file from an AIR for Android template (there are 4 different choices – 400 x 800 screen, accelerometer, option menu, and swipe gallery).
- At some point, you should also plug the phone in to your computer. Before doing so, on the phone, choose from the main screen Settings > Applications > Development (then check the USB Debugging choice). Then, when you plug your phone in, it will begin installing various drivers.
- Next, one needs to install the Android SDK. Of course, there are two choices (an installer and a zip file). Both lead me to the same logical conundrum. In order to install the SDK, one needs to have JDK (Java Developer Kit) installed. Foolishly, I first chose the 64 bit Windows version (hey, I am running 64 bit Windows Professional after all). Once I had “successfully” installed the JDK, I then tried to install the Android SDK. It told me the JDK was not installed. After a fair amount of fumbling (including trying to install from the zip version), I finally figured out that it was looking solely for the 32 bit version. So, I installed the 32 bit version of the JDK and was then able to successfully install the Android SDK.
- Oh, forgot to mention that there was a small error when I plugged the phone in to my computer. The adb driver did not successfully install.
- Off to Motorola land to locate the driver. Finally found the 64 bit versions for Windows. This link will take you to all the necessary drivers (32 bit and 64 bit).
- Now the phone is recognized and I can access it.
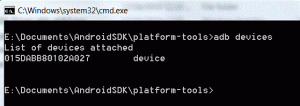
Since I am running the Android SDK, one of the nice features is the ability to query the actual device. This is done via the command shell. I navigated to the location I installed the Android SDK on my computer, since it is Windows, I did a shift + right click to open the platform-tools folder with the command shell. I could then query the device (see image below).
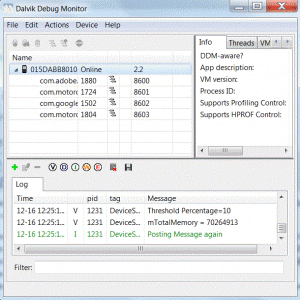
I next discovered there is a tool to take screen captures of what you see on the device. This is found in the tools folder in the Android SDK. It is ddms.bat. I launched it and discovered an error – the adb.exe file was not found. Researched a bit on a search engine to discover that the latest version of the SDK has moved the file to the platform-tools folder. So, I added the location to my Path environment variables in Windows and it now works. I can now see the device and can take screen captures. The Dalvik debug Monitor is shown below.
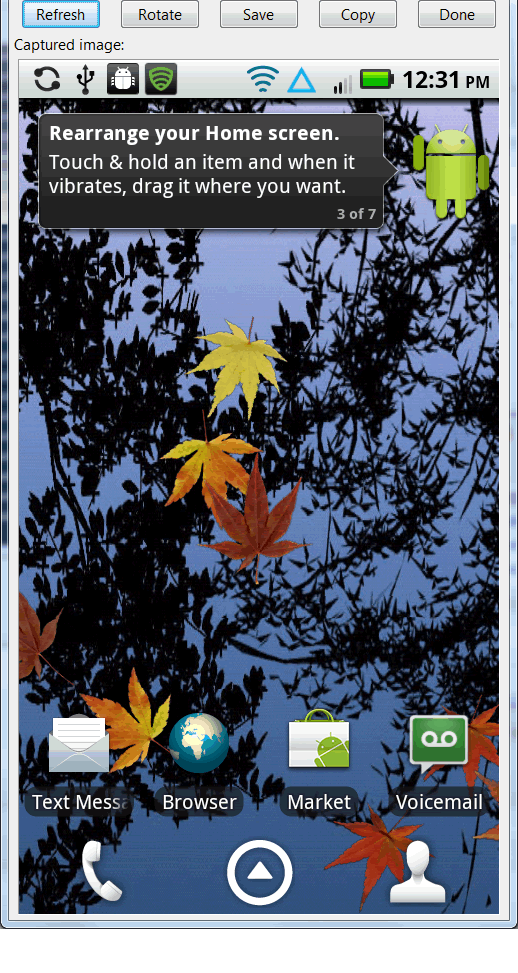
One selects Device > Screen Capture and images like the one below are available on the computer.
 Now that I have a working environment I can begin testing and developing small applications for the Android platform. My first attempt will involve some of the samples using Flash Professional CS5. That will be the subject of another post. I am curious what sorts of experiences readers of this post have had with Windows or other platforms.


